Note: These instructions is for sites that accept on-site transactions and don’t use third-party vendors for their ecommerce transactions.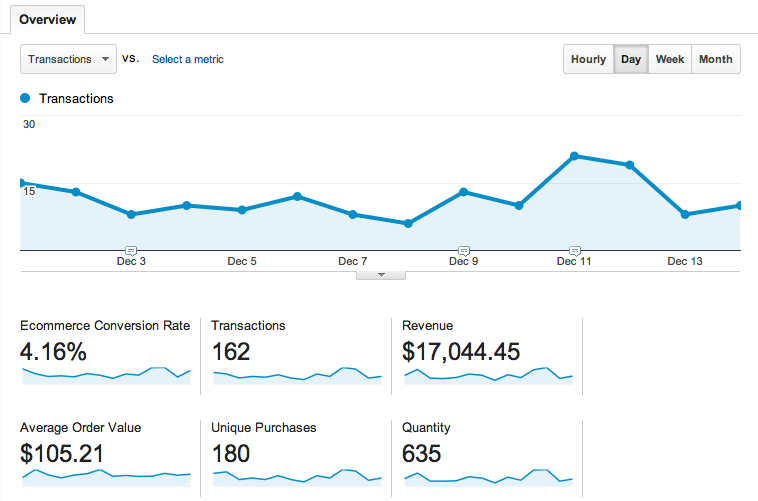
If you’re an online store that hasn’t set up ecommerce tracking in Google Analytics, you’re missing a great opportunity to make better decisions by using data collected from visitors and buyers. By using just a plugin or adding a few lines of code to your site, you can quickly capture this transactional data in your Google Analytics account. It isn’t hard to do. Today we’re going to show you how easy it is.
Step 1: Log in to Google Analytics. Select default view under the property you want to track. Click the ‘Admin’ button.
Step 2: You will see three options; Account, Property and View. Click View > View Settings.
Step 3: You will see options for Ecommerce tracking. Toggle the button so that it reads ‘ON’.
Step 4: This is when you install your Google Analytics tracking code on all your site pages. If you can use a content management system like Magento and Netsuite, you can download plugins that will track Ecommerce transactions for you.
If there isn’t a ready ecommerce tracking plugin available, follow these instructions if you are using the classic version of Google Analytics or these instructions if you’re using the new Universal Analytics.
That’s it. You’re now experienced in how to set up ecommerce tracking in Google Analytics.
Once you’ve installed your tracking code, run a dummy transaction to confirm that your account is capturing transaction data. In a future post, we’ll show you how to use this information to make data-driven decisions.
